I thought I had posted this earlier but apparently not. Well, better late than never!
I have been thinking about what I wanted Kay to be for Halloween for quite a few months now but suddenly Friday I suddenly realized Halloween was less than a week away and I had absolutely no idea what I wanted her to be.
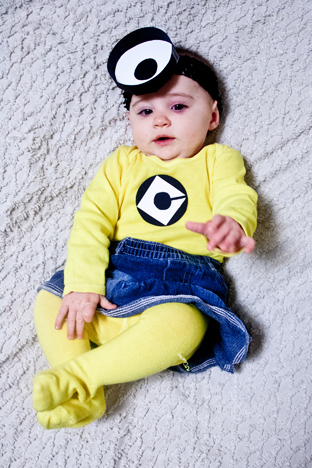
After wandering through the local Spirit costume store when friends before going out to eat I came to two conclusions. One: Kay will be a minion, and Two: Costumes are EXPENSIVE!! I have loved the Despicable Me movie since it came out and Hubby thinks its funny that I quote it from time to time (“It’s so fuzzy I’m going to DIE!”) so it seemed like a perfect idea.

For this easy home-made minion costume, you will need:
1 white COTTON long sleeve onesie (I had mine on hand but a 4 pack is around $7)
a pair of white COTTON tights (around $3)
A jean skirt (already owned one)
1 sheet of black and white construction paper / cardstock (free from work but craft stores sell them for about $1 a sheet)
Black felt OR a thick black headband (already have one)
1 package or bottle of Rit Dye in Lemon Yellow (around $3 for a bottle)
Tape & scissors
Optional: Hot glue, Black fabric paint
Cost me only $6!! (I would think it would be around $15-20 if you didn’t have anything on hand)
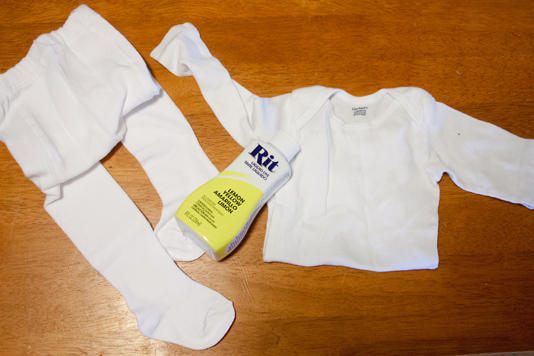
I couldn’t find a onesie and tights in yellow so my first step was dying the onesie and tights with the Rit Dye. If you found them in yellow, you can skip the dye all together. Rit dye only works with cotton fabric so make sure that the clothes are cotton!
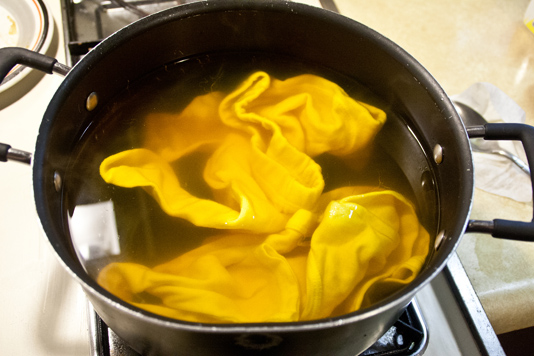
You can follow the directions on Rit’s website for dying the clothes but since it was only two small items I used half a bottle of the dye (just to make sure the color took) with 1½ gallons of hot water on the stove between medium and low heat. It’s suggested to add some salt to the water to help the color set. I didn’t measure, just poured some in.

You want to get the onesie and tights nice and wet with warm water before you put them in the dye, then stir on and off for a half hour. Finish with cold rinse and hang dry.
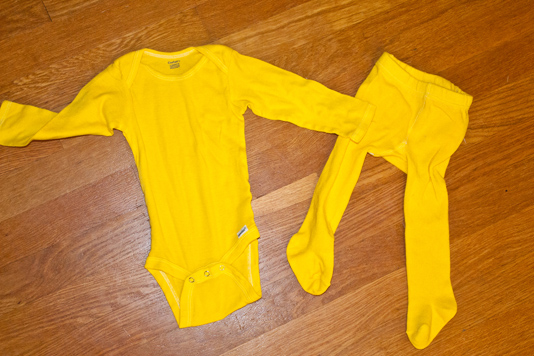
If you want, you can use black fabric paint to paint Gru’s logo onto the shirt but I wanted to be able to reuse the shirt later so I decided not to do so.
Next is the goggles!
Out of the black construction paper cut one strip (or two if you want your minion to have two eyes) about 1½ inches wide. The length really doesn’t matter – the longer the strip the bigger the goggle(s) will be.Fold the strip in half long ways (hotdog bun style, if anyone remembers that!)
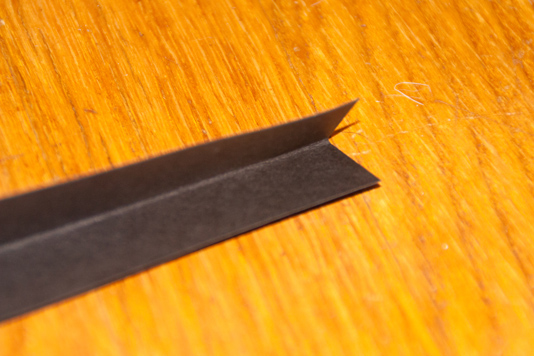
Every so often cut a small section halfway up the strip, stopping at the fold line. This will help keep the goggle together and give the white eye part something to adhere to.
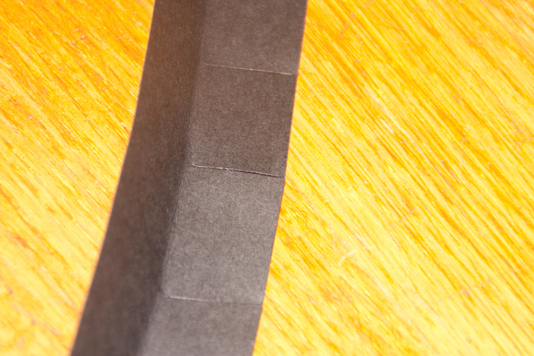
Tape the ends together, fold the tabs inside and tape them as well.
Next, out of the white construction paper carefully trace your goggle and cut it out to get the white eyeball. Tape it to the inside of the goggle.
Cut another smaller circle out of the black for the iris and tape that to the white.
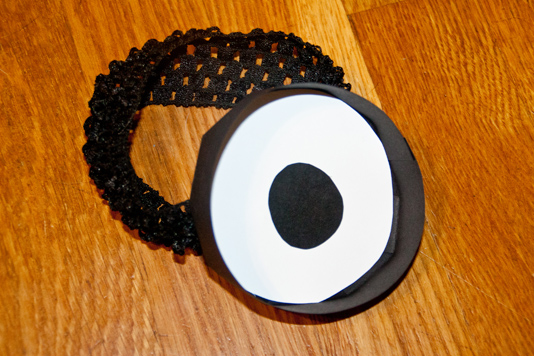
If you have a headband you can just attach the goggles to the headband (either with tape or hot glue, whichever you prefer) If you went the felt route, cut a strip long enough to fit snuggly on your child’s head and glue (or sew if you want to) the ends together and attach the goggles.
Last minute I decided to make Gru’s logo out og tthe construction paper. You will need two round items to trace, one about half to a quarter of the size of the other. I used a peanut container lid and a D battery. Use the larger item to trace a circle on the black and the white construction paper. Cut out the black circle.
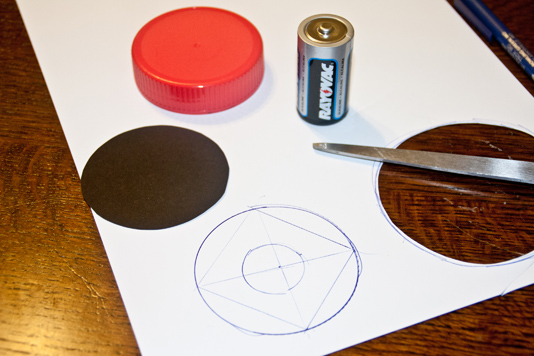
For the white, find the approximent center and draw a dot. Using that dot, make a line going through the center of the circle, both horizontal and vertical. Now usng the lines, make a square.
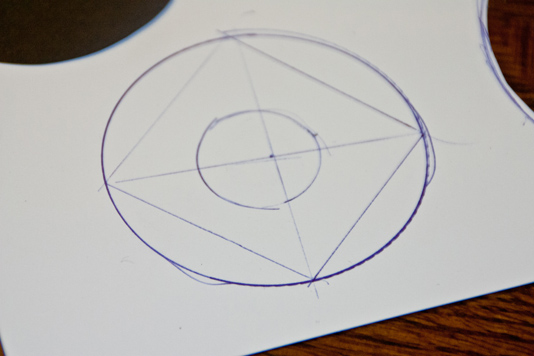
Now, note that since you don’t want the side you are drawing on to be showing you will need to reverse Gru’s “G” on the logo. (I didn’t do this right and mine isn’t correct but I’m hoping nobody notices!) Mark the sections to cut out and cut!
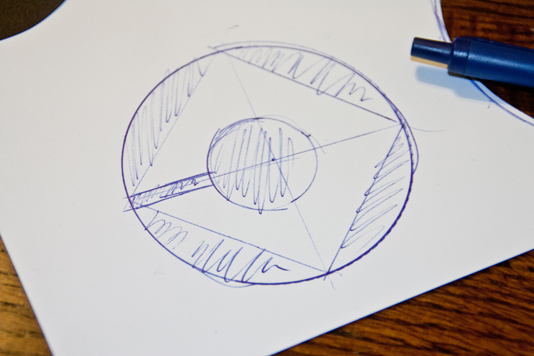
Tape the white to the black and you have your logo!
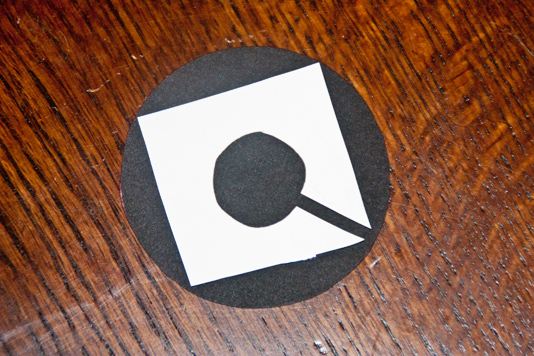
I just taped it on Wiggle’s shirt for photos since I knew it wasn’t going to stay on the whole time.
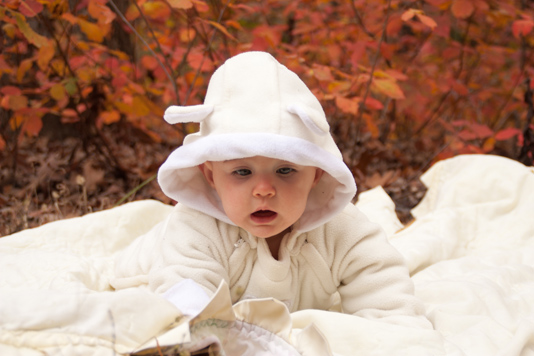
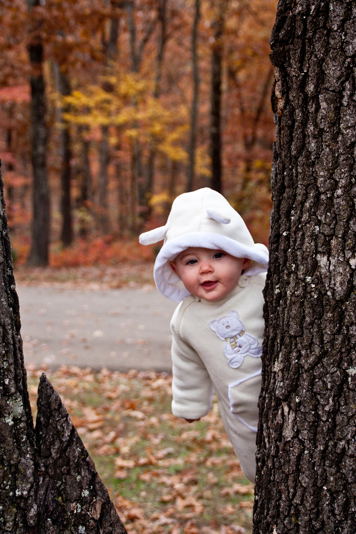
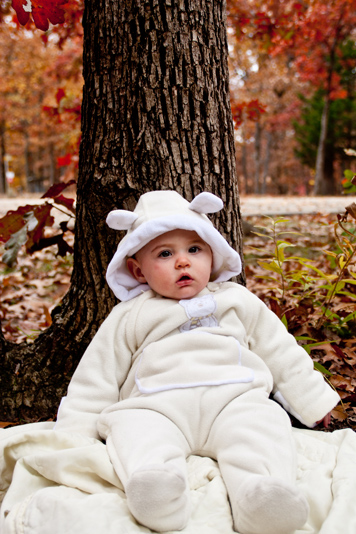
Ta Da! You have an adorable minion of your own!
